Viasat has currently exclusive rights for live NHL broadcasting in Europe for seasons 2011-2016. It means that it is not even possible to subscribe to NHL.com live streams directly from Finland. Also, the previously proven to work ESPN has silently stopped offering NHL to Europe for the same reason. (I know there are web sites that offer live streaming for free, but those that I found seemed to have awful quality and reliability.)
Viasat channels are available via cable or satellite TV. The cheapest TV option is the Viasat Sport package, which includes the Viasat Hockey channel, is 19,95 euros per month for Sonera cable TV customers, in 12 month subscription. So, you basically pay 19,95 euros also during the NHL summer vacations, unless you’re also interested in golf or other sports. The cheapest and most flexible option seems to be the ViaPlay internet service (in Finland at http://www.viaplay.fi). ViaPlay is available for 16,95 euros per month, including a selection of click-to-play movies, in a one month subscription. And as it is an internet service, I could also watch the games (and movies) anywhere on my laptop. All this sounded reasonable, so I decided to give it a try.
After registering and paying 16,95 euros with my credit card, I could login to ViaPlay web site and watch the games. They seem to require the Microsoft Silverlight plugin, but luckily that is available to Apple Safari and seems to work just fine. I have no idea if it is available for Linux. Definitely not for iPad or smartphones. So, the videos will play in the web browser for those with the right OS.
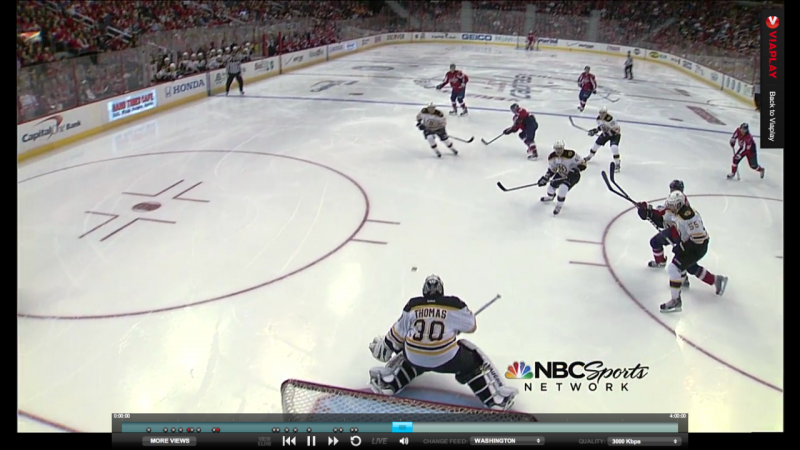
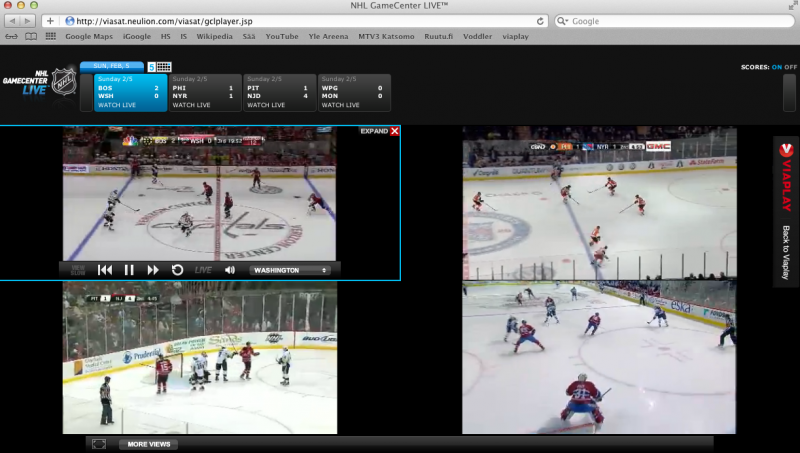
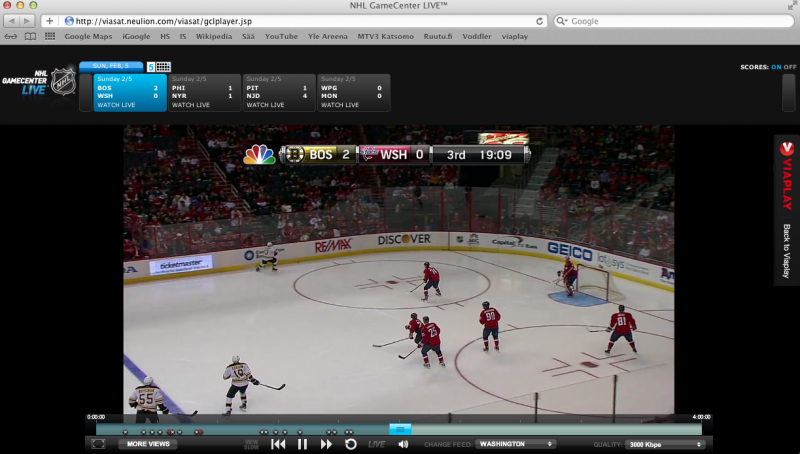
Viasat seems to ruin part of the NHL games with swedish commentary that makes you want to fall asleep, but LUCKILY the best part of the whole deal is that now you get access to NHL Gamecenter Live. Clicking a link under any of the live hockey games will take you to NHL Gamecenter Live, where all ongoing NHL games can be seen, even simultaneously! NHL Gamecenter is using Flash instead of Silverlight so Linux should be also fine. Bandwidth can be set up to 3000 Kbps, which results in almost HD quality video. Most games have two different voide/video streams, for home or visitor team supporters. So the actual Viasat TV broadcast is rather useless, and what you’re actually paying for, is the access to NHL Gamecenter Live.
I watched about 1,5 matches tonight, jumping back and forth couple of games which had started at different times. Changing between games is real quick, like changing a TV channel. It is also quick to check out highlights of the game, there will be a small dot on the timeline which you can click to jump to each goal scored etc.
I was positively surprised of the video quality. It is definitely better than average SD DVB-T/C channels (like UrhoTV). With fast moving scenes it falls below good 720p but it is still pretty decent, even when upscaled to my 46″ Full HD television. There seems to be some differences between different games.
I also tried to start a few movies from ViaPlay, and they seemed to work fine. Some (HD) movies are still for extra charge but many will play with just a click.
Here are some screenshots of the NHL Gamecenter Live:


